Salesforce Connector
SyncNow integrates with Salesforce to synchronize data between Salesforce entities and other work systems. This guide provides detailed steps on setting up the Salesforce connector, configuring sync processes, and managing synchronization settings.
⚙️ Setting Up the Salesforce Connector
To set up the Salesforce connector in SyncNow, follow these steps:
-
Create a Connected App in Salesforce
- Navigate to the Lightning Experience App Manager:
Go to Salesforce Setup. In the Quick Find box, type "App Manager" and select "Lightning Experience App Manager". - Create a New Connected App:
Click the "New Connected App" button and fill in the required fields. - Enable OAuth Settings:
In the "API (Enable OAuth Settings)" section, select the checkbox to enable OAuth settings. - Select OAuth Scopes:
From the "Available OAuth Scopes" list, select "Manage user data via APIs (api)" and add it to the "Selected OAuth Scopes" list. - Generate API Key and Secret:
Save the connected app settings. Navigate back to the app settings and click the "Manage Consumer Secret" button to generate the API key and secret.
- Navigate to the Lightning Experience App Manager:
-
🔄 Configure Streaming Data in Salesforce
- Add Streaming Entities to Change Data Capture:
In Salesforce Setup, search for "Change Data Capture". Add the entities you want to stream to the Change Data Capture configuration.
- Add Streaming Entities to Change Data Capture:
-
🔗 Configure the Salesforce Connector in SyncNow
- Navigate to the Connectors Page:
Access the "Connectors" page from the main menu. - Add a New Connector:
Press the "Add Connector" button and select "Salesforce" from the list. - Connector Settings:
- Name: Enter a unique name for the Salesforce connector.
- Salesforce URL: Provide your Salesforce instance URL.
- Username: Enter the Salesforce username.
- Password: Enter the Salesforce password.
- API Key and Secret: Enter the API key and secret generated earlier.
- Navigate to the Connectors Page:
-
💾 Save and Validate
Click the "Save" button to save the connector settings.
Press the "Validate" button to ensure the connection to Salesforce is correctly configured.
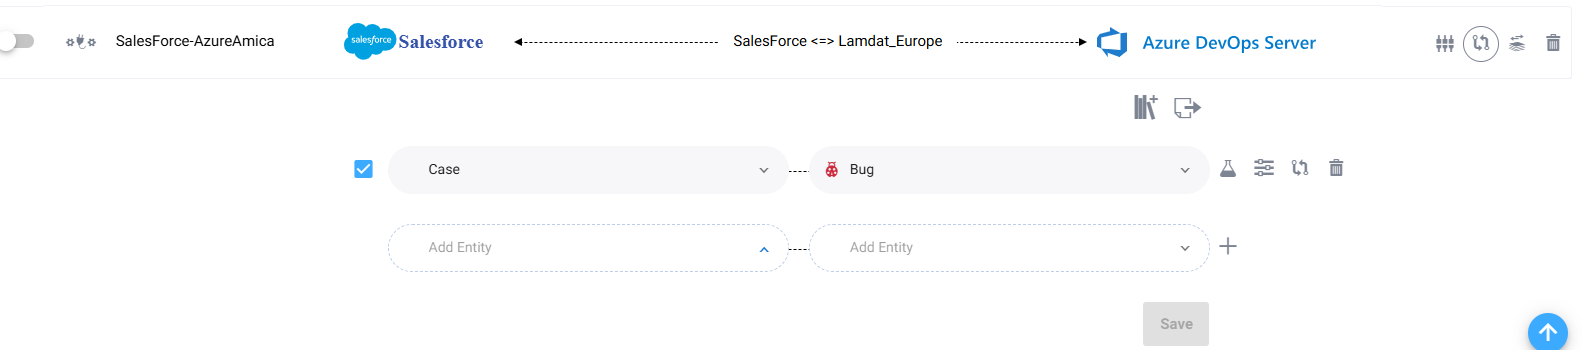
🔄 Creating a Sync Process
After configuring the Salesforce connector, follow these steps to create a sync process:
-
Navigate to the Sync Processes Page
Access the "Sync Processes" page from the main menu. -
Add a New Sync Process
Press the "Add Sync Process" button to start configuring a new sync process. -
Define Sync Process Name
Enter a unique name for the sync process. -
Select Entity Types and Fields
- Entity Types: Corresponding to Salesforce entities such as accounts, contacts, opportunities, etc.
- Fields Mapping: Map Salesforce fields to fields in the target work system. All standard and custom fields are supported.
-
Synchronization Method
- Real-time Sync: Select this option to use Salesforce Change Data Capture for real-time synchronization.
- Timer Sync: Choose this option to synchronize data at regular intervals.
-
Save and Activate
Click the "Save" button to save the sync process settings.
Activate the sync process to start synchronizing data between Salesforce and the target work system.
🗂️ Supported Fields for Salesforce Synchronization
SyncNow provides support for synchronizing various fields between Salesforce entities and other work systems. The following table lists some of the fields that can be synchronized, specifying whether they support one-way or two-way synchronization.
| Field | Description | Direction |
|---|---|---|
| Name | The name of the Salesforce entity. | Bidirectional (Salesforce & Target System) |
| Description | The detailed description of the entity. | Bidirectional (Salesforce & Target System) |
| Status | The status of the entity (e.g., Open, Closed for Case). | Bidirectional (Salesforce & Target System) |
| Owner | The owner of the entity. | Bidirectional (Salesforce & Target System) |
| Notes | Comments related to the entity. | Bidirectional (Salesforce & Target System) |
| Related Entities | Links to related entities for example: company, contact | Bidirectional (Salesforce & Target System) |
| Attachments | Item Attachments | Bidirectional (Salesforce & Target System) |
| Custom Fields | Custom fields defined in the entity. | Bidirectional (Salesforce & Target System) |
| Case Number | Unique identifier for a Case. | Bidirectional (Salesforce & Target System) |
| Case Priority | Priority of the Case (e.g., High, Medium, Low). | Bidirectional (Salesforce & Target System) |
| Case Type | Type of the Case (e.g., Question, Problem, Feature Request). | Bidirectional (Salesforce & Target System) |
| Case Origin | Source of the Case (e.g., Phone, Email, Web). | Bidirectional (Salesforce & Target System) |
| Account Name | Name of the related Account. | Bidirectional (Salesforce & Target System) |
| Account Number | Unique identifier for an Account. | Bidirectional (Salesforce & Target System) |
| Industry | Industry of the Account. | Bidirectional (Salesforce & Target System) |
| Phone | Phone number of the Account or Contact. | Bidirectional (Salesforce & Target System) |
| Email address of the Account or Contact. | Bidirectional (Salesforce & Target System) | |
| Website | Website URL of the Account. | Bidirectional (Salesforce & Target System) |
| Created Date | Date the entity was created. | Unidirectional (Salesforce → Target System) |
| Last Modified Date | Date the entity was last modified. | Unidirectional (Salesforce → Target System) |
🏷️ Entity Mapping
The Salesforce connector supports mapping all Salesforce entity types, including both standard entities (such as Account, Contact, Opportunity, and Case) and custom entity types (custom objects). This means you can synchronize any Salesforce entity with equivalent entities (such as tasks, work items, or tickets) in other work systems.
ℹ️ Note:
Ensure that your sync processes are configured to map each Salesforce entity type—including custom objects—to the appropriate entity type in your target system for successful and flexible synchronization.
⚠️ Limitations
- Attachment Synchronization: Only standard Salesforce attachment fields are supported. Very large files or unsupported formats may not sync.
- Custom Field Types: Some complex or unsupported custom field types may require additional configuration or may not be fully supported.
- API Limits: Salesforce API limits may affect the frequency and volume of synchronization.
💡 Tip: For best results, ensure your field mappings and webhook security settings are configured correctly in your SyncNow workflow.